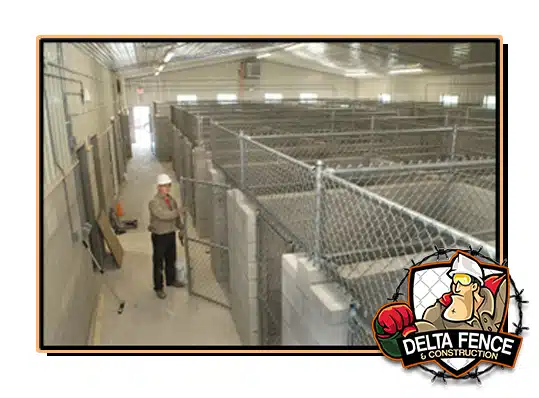
Fence Building – Working with or around concrete, asphalt or rock can be challenging.
Some of the challenges include boring holes to sink the posts in place. Often this requires specialized drills and equipment. An alternative to traditional post-setting, is to use bolt-down brackets that fix to the solid surface like concrete. The fence posts are inserted and secured into the bracket socket. The bracket technique is used for decking projects where you need to raise a deck above some concrete. Both methods are best practices that provide a safe, secure and elegant protective boundary for your work, property or home. This latest Delta Fence Blog investigates how fence installing through hard surfaces is accomplished.
1st thing is first, let’s mark some line.
Let’s begin by marking the fence line. Fence lines often need to be run over areas of concrete, asphalt or rock. A challenging aspect of building a fence is encountering solid surfaces, with a long straight guideline or chalk line, accessing the terrain is a great first step and can help avoid installation pitfalls. Once you have the general layout mapped, the posts can be placed out as the holes are being drilled. Here at Delta Fence, Fenceman likes to say, “measure twice, drill the post hole once”. Let’s look next at how to get the posts in the ground.
What about Posts?
Wooden, metal, vinyl or other fence post can be challenging to set in solid surfaces. Position each post along the guideline at regular intervals to correspond with the width of your fence panels. It can be easiest to literally lay out the panels and posts to provide exact positioning. If using bolt-down brackets, mark the position of each bolt hole with a pencil or chalk.
Be accurate when drilling the holes. If drilling concrete or rock, use a rock drill to cut a series of holes in a circle. Inside the circle, drill holes to create a circle twice the diameter of the post and 6 to 10 inches deep. Use the jack hammer to break all the rock out from inside the drilled circle. Scoop all the rock fragments out of the hole. Repeat to desired depth.
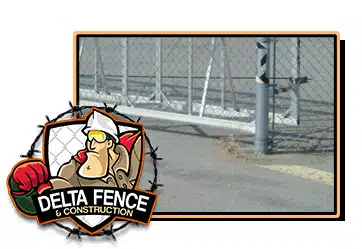
Additional Challenges
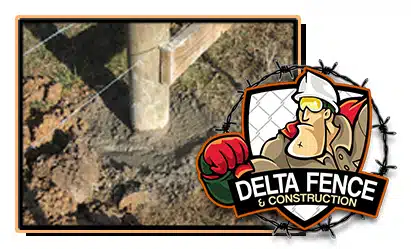
Install each post in position and check it with a level. Have an assistant shovel cement into the hole around the fence post, filling the hole. Cement can take up to 24 hours to fully harden, keep this in mind before stretching wire and attaching it to the posts.
Note – Asphalt is usually 2” or 3” thick. Use a tamping or digging bar to dig through the asphalt on warmer days. Remove the top layer to get to the softer ground. With a posthole digger or Fence Post Driver dig down to desired depth.
Note – With asphalt it is recommended to cut a square out and make a concrete pad.
Note – Sculpt the cement around the post, this will keep water from pooling up around its base.
If you live, work or play in Upper Michigan and are looking to learn more about residential fencing. Delta Fence & Construction can help! Call us at (906) 786-1076 or visit www.deltafenceman.com to schedule an appointment today.
![]()
Delta Fence & Construction is a licensed, bonded and insured fencing contractor in the State of Michigan.